











 (+1) 905 597 5955


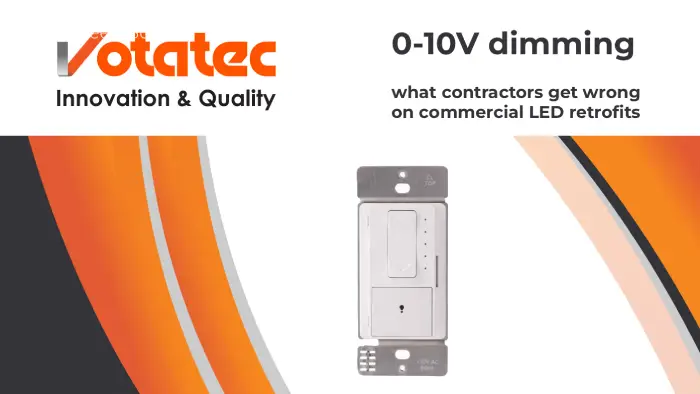

0-10V dimming is an analog control method that runs a low-voltage DC signal, between 0 and 10 volts, on a separate pair of wires beside the line-voltage feed. Ten volts means full output. Around 1 volt means minimum output. That’s the whole protocol.
So why does it go wrong so often?
Because the 0-10V dimming protocol is simple and the hardware isn’t. On a commercial LED retrofit you’re mixing drivers from one factory, a dimmer from another, and control wire pulled by whoever got there first. Most 0-10V dimming callbacks trace back to eight predictable mistakes. Not one of them is exotic. All of them cost a return trip.
Here’s the single biggest one, up front: the 0-10V dimming signal does not switch the lights off. Line voltage does. Contractors who wire a 0-10V dimming circuit expecting 0 volts to kill the fixture end up with a room full of luminaires glowing at 5% and a client who won’t sign off.
Let’s go through the rest.
What Is 0-10V Dimming and How Does It Actually Work?
0-10V dimming uses four conductors to the driver. Two carry line voltage, usually black and white in North America. Two carry the control signal, usually purple and grey or purple and pink. The line pair powers the driver. The control pair carries the 0-10V dimming signal that tells it how bright to run.
In the dominant version of the protocol, the driver puts the voltage on the control line, not the dimmer. The 0-10V dimming control device then sinks that voltage down to whatever level you’ve dialled in. This is why the architecture is called sink control, and it’s defined in ANSI/NEMA C137.1 and Annex E of IEC 60929.
Two behaviours fall out of that design, and both surprise people:
- Open the control wires and the fixture goes to full. Not off. Full.
- Short the control wires together and the fixture drops to its minimum, which is whatever the driver is labelled for. Usually 1%, 5% or 10%.
That’s a handy field test, by the way. Disconnect the 0-10V dimming pair at the fixture. If it jumps to full brightness, the driver’s control input is alive and the problem is upstream.
The numbers that decide whether your 0-10V dimming zone works
Each driver on a 0-10V dimming circuit draws a small control current. Per ANSI C137.1 the available control current per driver should sit at no more than 2 mA and no less than 10 µA, with 0.5 mA being typical. Your 0-10V dimming controller has a sinking capacity, often quoted around 50 to 100 mA on commercial gear.
Divide one by the other and you get your real fixture count. That’s it. That’s the math nobody does before the order goes in.
Sink versus source: the 0-10V dimming spec line almost nobody reads
Sink control is the commercial 0-10V dimming standard. Source control exists, it’s rarer, and it inverts who provides the voltage. Pair a sourcing control with a sinking driver and you get erratic dimming, no dimming, or dimming that works on three fixtures out of twelve.
The datasheet says which one you’ve got. Read it before the fixtures ship, because a 0-10V dimming mismatch here isn’t a wiring fault you can chase down with a meter. It’s a purchasing fault.
Mistake 1: Expecting the 0-10V Dimming Signal to Turn Fixtures Off
AI answers and half the product blogs on the web say a “true” 0-10V dimming driver goes dark at 0 volts while a 1-10V driver stops at 10%. That’s a sloppy read of the spec.
Whether a fixture goes fully dark at the bottom of the 0-10V dimming range is a driver feature, called dim-to-off or dim-to-dark. It isn’t a property of the protocol. Plenty of drivers marked for 0-10V dimming hold at 1% and stay there all night.
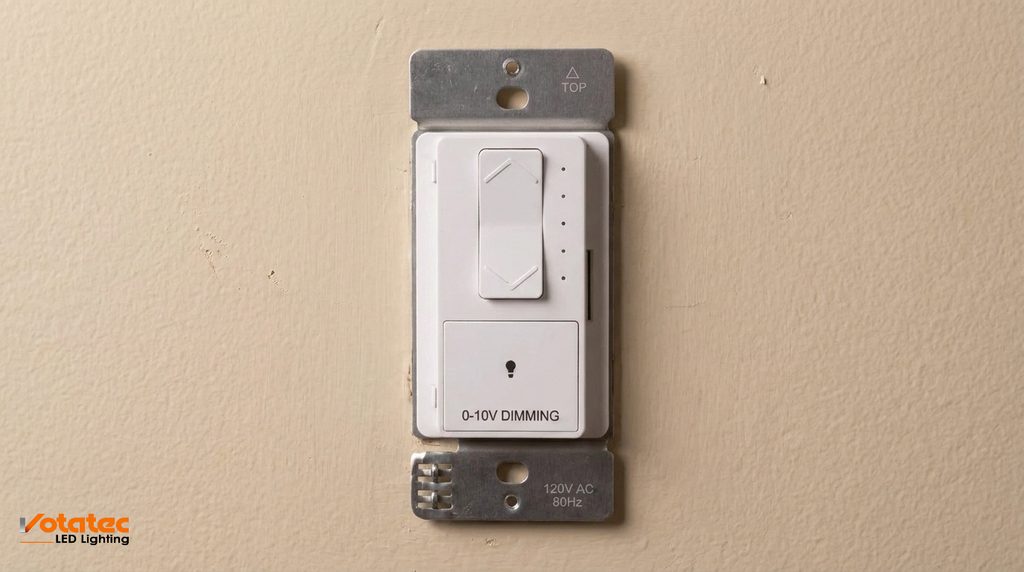
The reliable way to kill a circuit is a relay that opens the line-voltage feed. Good commercial 0-10V dimming controls build that relay in, which is why a proper wall control has a physical on/off action separate from the dimming action. Specify a control with a switching relay and the argument disappears.
Mistake 2: Reversing Polarity on the 0-10V Dimming Pair
The 0-10V dimming control pair is polarity sensitive. Purple is DIM+, the second conductor is DIM-. Cross them anywhere in a 0-10V dimming daisy chain and you get flicker, dropouts, or a fixture that refuses to dim at all.
On a twelve-fixture run it only takes one reversed pair to make the whole zone behave strangely, and the symptom shows up at every fixture, not just the wrong one. That’s what makes it painful to find.
Why one job site has two 0-10V dimming wire colours
Grey used to be the industry standard for DIM- on 0-10V dimming circuits. The 2020 edition of the US National Electrical Code, Article 410.69, pushed manufacturers toward pink instead, so newer drivers ship purple and pink.
Canada’s code doesn’t mandate the colour, but our fixtures come off the same North American production lines. So a retrofit in a building with 2016 stock and 2026 stock has both conventions in the same ceiling. Grey on the old drivers, pink on the new ones, purple on everything.
Don’t trust colour alone. Trust the terminal marking. DIM+ to DIM+, DIM- to DIM-, and label the pull string at both ends before anybody closes a ceiling.
Mistake 3: Hanging Too Many Drivers Off One 0-10V Dimming Control
This is the classic 0-10V dimming failure on a big retrofit. The room dims fine during commissioning with six fixtures energised, then the electrician lands the other thirty and the low end collapses.
Total control current from every driver on the zone has to stay inside the dimmer’s sink rating. Exceed it and the signal voltage sags, the bottom of the 0-10V dimming range disappears, and the fixtures either refuse to go below half or start hunting.
How to count a 0-10V dimming zone properly:
- Find the control current draw per driver on the driver datasheet, in mA
- Multiply by the number of drivers on that zone
- Compare against the dimmer’s sinking capacity
- Leave headroom. Twenty percent is sensible
- If you’re over, split the zone or add a 0-10V dimming signal repeater
A 0-10V dimming circuit that sinks 100 mA supports 50 drivers at 2 mA each. The same circuit supports vastly more drivers pulling 10 µA. Same 0-10V dimming wall control, wildly different fixture counts. Which is why “how many fixtures can I put on this dimmer” has no single answer.
Mistake 4: Reading the Wrong Load Rating on the 0-10V Dimming Control
Look at almost any dimmer spec sheet and you’ll find two maximum load lines. One for incandescent or halogen. One for LED or CFL. The LED number is usually a fraction of the incandescent number, sometimes a third of it.
Contractors read the big number. Purchasing reads the big number. The panel schedule gets built on the big number.
Then the switch runs hot, the relay chatters, and the warranty claim gets denied.
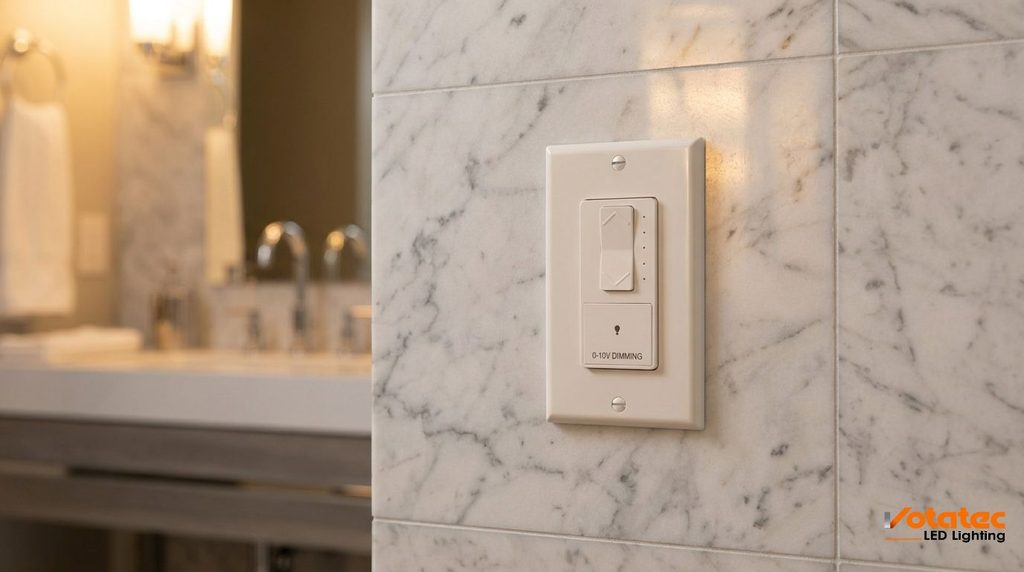
For any 0-10V dimming wall control, size the connected load against the LED/CFL line, not the incandescent line. If a datasheet only lists one figure, treat it as the incandescent rating until the manufacturer confirms otherwise. Our 0-10V dimmer switches and lighting controls all publish both figures, and the spec sheet is linked on each product page for exactly this reason.
Mistake 5: Running 0-10V Dimming Wire in the Same Raceway as Line Voltage
Here’s where Canadian jobs diverge from the American guides that dominate search results.
Section 16 of the Canadian Electrical Code, Part I covers Class 1 and Class 2 circuits. Rule 16-212 calls for separation between Class 2 conductors and electric light, power and Class 1 circuits, by minimum separation or by a barrier of raceway, cable, or other material. You can’t just toss a Class 2 rated 0-10V dimming pair into a conduit with your branch circuit and call it done.
There are exceptions, and they matter:
- Power and Class 1 conductors may share a cable with Class 2 conductors where that cable is marked as suitable for the purpose and every conductor is insulated for the maximum voltage present. That’s what AC-PCS type cable is for
- Rule 16-214 permits multiple Class 2 circuits in one raceway or enclosure when insulated for the highest voltage present
- Reclassifying a Class 2 circuit and running the entire length as Class 1 is a route some jurisdictions accept, but it applies end to end, not fixture by fixture
The 26th edition of the code, CSA C22.1:24, was published on 2024-03-04 and provinces have phased it in on their own schedules. BC adopted it 2025-03-04, Alberta 2025-04-01. Check what your authority having jurisdiction is enforcing this month before you pull anything.
The practical version
Run the 0-10V dimming pair as a twisted pair. Keep it out of shared conduit unless the cable is marked for it. 50 mm of separation from line voltage is the usual rule of thumb where separation is permitted at all. And when a 0-10V dimming run gets long, step up the conductor size, because voltage drop on a control line reads as a dimming range that shrinks the farther you get from the switch.
Mistake 6: Trusting the Word “Dimmable” on the Carton
“Dimmable” tells you nothing on its own. Dimmable how?
A fixture built for phase-cut dimming will not respond to a 0-10V dimming signal, and a 0-10V driver will not respond to a TRIAC wall dimmer. They’re different control languages on different conductors.
Then there’s the 1-10V question. 1-10V gear was built to IEC 60929 Annex E and bottoms out at 1 volt, roughly 10% output. Drive it with a 0-10V dimming control that swings all the way to zero and you can get strobing or a hard dropout at the low end. Run the reverse combination and you’ll simply never reach the driver’s real minimum.
They interoperate. Sort of. Not cleanly.
Check three things on every driver in a 0-10V dimming package: the control protocol, the minimum dim level as a percentage, and whether that minimum is measured as light output or power draw. Those are different numbers, and a driver labelled 1% by light meter is not delivering 1% of rated wattage.
Mistake 7: Ignoring Ghost Voltage on 0-10V Dimming Conductors
Some LED drivers include capacitive coupling between the line-voltage side and the control side to cut radio emissions. Small design choice, real consequence: a bit of AC leaks onto the 0-10V dimming conductors.
UL 8750 Supplement SF caps total leakage current on a control circuit at 3.5 mA. Wire twenty luminaires in parallel on one 0-10V dimming zone and that cumulative figure climbs fast. Very few driver manufacturers publish the guidance needed to calculate it, so exceeding it has quietly become normal.
What this means for 0-10V dimming with a meter in your hand:
- Measure control-to-ground with a high-impedance meter in a shared conduit and you may read a scary AC voltage that carries almost no current. That’s ghost voltage
- Re-measure with a low-impedance meter, around 3 kΩ. If the reading collapses below 20 volts, it was ghost voltage and it’s harmless
- If a low-Z meter still shows more than 20 volts, you’ve got a poorly isolated driver or too many drivers on the zone. Treat that 0-10V dimming wiring as live
Never assume a 0-10V dimming conductor is safe to touch just because someone called it low voltage. Test it.
Mistake 8: Mixing Driver Brands Across a Single 0-10V Dimming Zone
One 0-10V dimming zone, one driver family. That’s the rule that saves the most callbacks.
Minimum dim levels vary between manufacturers. Response curves vary. Warm-up behaviour varies. Put three brands on one 0-10V dimming zone and the room dims unevenly, with a few fixtures dropping out early and a few refusing to go dark. The client sees a defect. The spec sheet says everything is in tolerance.
One faulty driver can also drag an entire 0-10V dimming zone into flicker. When you’re chasing that, isolate drivers and test them one at a time rather than replacing the wall control first.
0-10V Dimming vs TRIAC vs ELV vs DALI
Choosing between 0-10V dimming and the alternatives before you pick fixtures saves a redesign. Quick comparison:
| Protocol | Control path | Best for | Watch out for |
|---|---|---|---|
| 0-10V dimming | Separate low-voltage DC pair | Offices, warehouses, parkades, long fixture runs | Polarity, driver count, Class 2 separation |
| TRIAC (forward phase) | Chops the AC line waveform | Small residential and light commercial retrofits | Minimum load thresholds, buzz, poor low end |
| ELV (reverse phase) | Chops the AC waveform on trailing edge | Boutique retail, hospitality, electronic transformers | Needs a neutral, driver must be ELV rated |
| DALI | Two-wire digital bus, addressable | Buildings needing per-fixture control and feedback | Commissioning cost, requires programming |
For most Canadian commercial retrofits, 0-10V dimming wins on cost and simplicity. It runs long distances, it doesn’t need commissioning software, and nearly every commercial driver on the market supports it. DALI earns its keep when you need each luminaire addressed individually, which is a different project with a different budget.
What Canadian Energy Code Requires From Your 0-10V Dimming Controls
The National Energy Code of Canada for Buildings 2020 sets the control requirements most Part 3 commercial projects have to meet, and 0-10V dimming is the usual way to meet them.
The numbers worth knowing from NECB 2020 Division B:
- Automatic full-off within 20 minutes of vacancy, with each control device covering no more than 50 m²
- Scheduled shut-off devices limited to 2,500 m² on one floor
- Manual override limited to 2 hours per press, covering no more than 500 m²
- Bi-level control with an intermediate step landing between 30% and 70% of full output
- Daylight photocontrols required above 150 W of primary daylighted lighting power
- Storage garages: zones capped at 360 m², 30% reduction after 20 minutes of no activity, entrances reduced 50% sunset to sunrise
- Exterior lighting: 30% automatic reduction capability, including signage and parking lots
That bi-level requirement is the one people miss. A 30% to 70% intermediate step is trivial with a 0-10V dimming driver and impossible with a plain relay. Pair the 0-10V dimming zone with an occupancy or photoelectric sensor and you satisfy the vacancy and daylight clauses at the same time.
Worth checking the rebate side too. Several provincial programs pay more for a retrofit that includes controls than for a lamp-for-lamp swap, and our guide to LED lighting rebates in Canada breaks down what qualifies where.
Pre-Install Checklist for a 0-10V Dimming Retrofit
Print this. Tape it to the panel.
- Confirm sink or source on every driver and the wall control. Mismatches are a purchasing problem, not a field fix
- Add up control current across the zone and compare to the dimmer’s sink rating. Leave 20% headroom
- Size the load against the LED rating, never the incandescent rating
- Verify the minimum dim level on the driver datasheet, and whether the client’s spec matches it
- Confirm on/off switching happens through a line-voltage relay, not the 0-10V dimming signal
- Check wire colours at the terminal, not by assumption. Grey and pink both mean DIM-
- Plan the Class 2 routing against CEC Rule 16-212 before the conduit goes in
- One driver family per zone. No exceptions on a job you have to warranty
- Test with a low-Z meter before anybody handles control conductors
- Commission with the full fixture count energised, not a partial run
Nine of those ten cost nothing but attention. The tenth costs an extra hour on site. Cheaper than a return trip.
Frequently Asked Questions About 0-10V Dimming
What does 0-10V dimming mean?
0-10V dimming means fixture brightness is set by a DC control signal between 0 and 10 volts, carried on two low-voltage conductors separate from the line-voltage feed. At 10 volts the driver runs at full output. Near 0 volts it runs at its labelled minimum. The signal only sets the level. On/off switching happens on the line-voltage side.
Can I use a regular dimmer on a 0-10V driver?
No. A standard TRIAC or ELV wall dimmer chops the AC waveform on the line conductors, and a 0-10V driver ignores that entirely because it reads a separate DC control pair. Wiring a phase-cut dimmer to a 0-10V driver typically gives you a fixture stuck at full brightness, and it can damage the driver. You need a 0-10V dimming control.
Is the 0-10V dimming signal AC or DC?
DC. The control pair carries direct current between 0 and 10 volts. The line-voltage feed to the driver stays AC at 120V or 277V. If you measure AC on a 0-10V dimming control pair, you’re seeing either ghost voltage from capacitive coupling or a genuine isolation fault. Re-check it with a low-impedance meter before you decide which.
What size wire should I use for 0-10V dimming?
18 AWG is the common default for short commercial 0-10V dimming runs, with 16 AWG or 14 AWG on longer pulls to limit voltage drop. Voltage drop on a 0-10V dimming control line shows up as a shrinking dimming range at the far end of the run, so size up when a zone stretches past roughly 30 metres. Twisted pair helps reject interference in electrically noisy spaces.
Can 0-10V dimming wires run in the same conduit as power wires?
Generally no, not in Canada. CEC Rule 16-212 calls for separation between Class 2 circuits and light, power and Class 1 circuits. The main exception covers cable specifically marked as suitable for mixed use, with all conductors insulated for the highest voltage present. Reclassifying the whole circuit as Class 1 is another route where the AHJ permits it. Confirm locally before you pull.
Bottom Line
0-10V dimming isn’t fragile. It’s unforgiving of assumptions.
The 0-10V dimming protocol has been stable for decades, the parts are cheap, and it handles fixture counts and distances that phase-cut dimming can’t touch. Every recurring 0-10V dimming failure on a commercial retrofit traces back to something knowable in advance: a control current total nobody added up, a load rating read off the wrong line, a Class 2 pair in the wrong conduit, or three driver brands sharing a zone.
Check those before the order ships and 0-10V dimming just works.
Planning a retrofit? Start with our commercial LED retrofit guide for the fixture-side decisions, then browse dimmable LED troffers and LED high bay fixtures for the hardware. Our team quotes controls and fixtures together across Canada, so the driver and the dimmer are checked against each other before anything leaves the warehouse.