


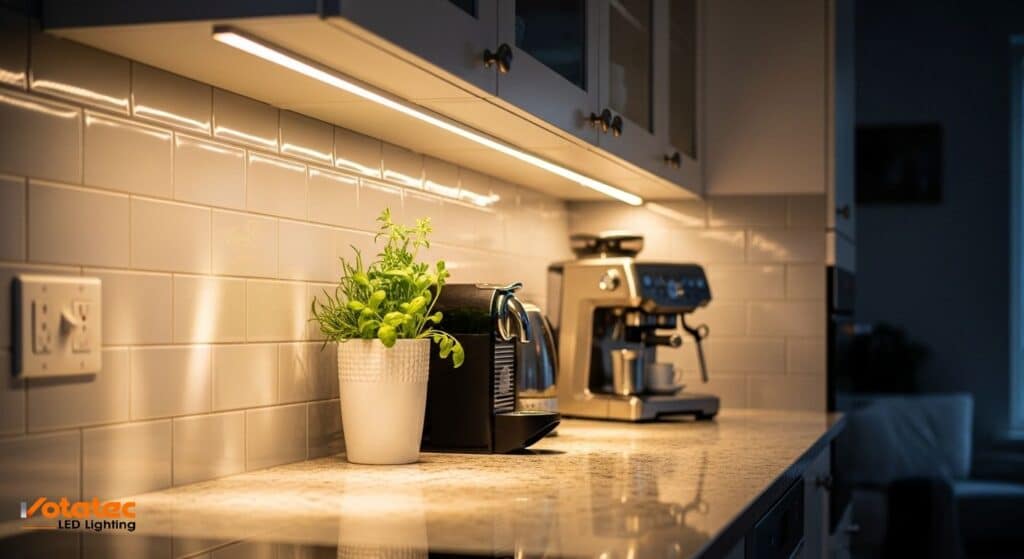
Picture the kitchen you’re staring at right now. Dark counter. Shadows where you chop. Upper cabinets killing every bit of oxverhead light before it reaches the surface. Sound familiar?
Under cabinet lighting fixes that in an afternoon. Plug-in strips take about an hour. Hardwired runs with a wall switch take three to six hours. Battery pucks go up in twenty minutes. That’s the whole answer, right there.
Here’s the thing. The install is easy. The part most people get wrong is the fixture choice and the code side. Both matter if you want it to last and pass inspection.
This guide walks through all three install methods. Canadian code notes baked in. Real numbers. No fluff.
The Short Answer (Skip Ahead if You’re in a Hurry)
Choose your install type first:
- Plug-in LED strip: renter-friendly, 45 to 90 minutes, no permit, $50 to $200 in parts.
- Hardwired to a switch: cleanest look, 3 to 6 hours, ESA permit required in Ontario, $400 to $1,200 installed by a licensed electrician.
- Battery pucks: islands and cabinets with no power, 20 minutes, AA batteries every few months.
Mount the fixture to the front lip of the cabinet bottom. Not the back. Not the middle. Front lip, half an inch in from the edge. That single detail separates a kitchen that looks designed from one that glows at the backsplash while your chopping board sits in shadow.
That’s it. The rest is details.
The Three Ways to Wire Under Cabinet Lighting
Plug-In Strips and Bars
You mount the strip, run a cord to the nearest 120V outlet, and plug it in. Done. Most strips come with 6 to 10 feet of cord and a low-profile plug. See our range of LED strip lighting options for fixture specs.
Good for rental units, quick upgrades, and DIY jobs where you’d rather not open a wall. The trade-off? The cord is visible unless you drill a pass-through hole in the cabinet bottom or hide it behind a valance.
Honestly, on most kitchens this works fine. Nobody crouches down to stare at your outlet area.
Hardwired to a Wall Switch
The fixture ties into a lighting circuit through a dimmer or switch. Cable runs inside the wall from the switch up to the cabinet, then across under the cabinets in flexible metal conduit. No visible cord. One switch controls the whole run.
This is the install cabinet shops spec on new builds and full kitchen renos. If a permit is already on the table for the reno, adding under cabinet lighting adds almost nothing to the electrical scope.
In Ontario? You’ll need an ESA notification and inspection for any new wiring or new circuit. (Source: Electrical Safety Authority, Ontario.) BC, Alberta, and most other provinces run similar systems through their own safety authorities.
Battery Pucks
Stick-up pucks with an adhesive back and AA batteries inside. Some have motion sensors. Twenty minutes and you’re done.
Fine for a display cabinet or pantry. Not great for a working kitchen where the lights run 4 hours a day. You’ll replace batteries monthly and wish you’d gone plug-in.
What Your Shopping List Looks Like
Basic tools for any install:
- Tape measure
- Pencil
- Cordless drill and small bit
- Robertson #2 screwdriver (standard in Canada)
- Safety glasses
- Wire strippers
- Electrical tape
For a hardwired install, add:
- 14/2 NMD90 cable for the feed
- Flexible metal conduit (FMC or BX) for the under-cabinet run
- Junction box
- Marrettes (red and orange)
- An LED-compatible dimmer
- A voltage tester you actually trust
For plug-in, add cord clips and optional paintable cord cover.
Pro tip from the contractors we supply: buy 10% more LED strip than your tape measure says. Corners, cuts, test sections. You always need extras.
Step-by-Step: Plug-In LED Strip Install
Time: 45 to 90 minutes.
- Measure. Add up every cabinet run where the strip will sit. Write it down. Add 10%.
- Clean the mounting surface. Rubbing alcohol on the bottom lip of the cabinet. Let it dry. Skip this and your adhesive fails in six months.
- Test before you mount. Plug the strip in on the counter. Make sure every section lights. Returning a mounted strip is painful.
- Peel and stick, in sections. Peel back 4 to 6 inches of backing at a time. Press the strip firmly against the front lip, half an inch back from the cabinet’s front edge. Work across. Never peel the whole backing at once.
- Connect across gaps. Most strips use push-fit connectors between cabinets. Feed the connector wire through the gap, snap it in, keep going.
- Run the cord. Cord clips every 12 inches along the back of the cabinet. For the cleanest look, drill a half-inch hole through the cabinet bottom near the back corner and feed the cord through to the outlet.
- Plug in. Test. Check the dimmer. Done.
Pretty satisfying actually. Huge light upgrade for under $200 and an afternoon.
Step-by-Step: Hardwired Under Cabinet Lighting Install
Time: 3 to 6 hours. In Canada, most provinces require a licensed electrical contractor or a homeowner working under a homeowner permit.
- Plan the circuit. Lighting cannot share a circuit with kitchen counter receptacles. (Source: CSA C22.1 Canadian Electrical Code, Section 26.) You’ll tie into an existing lighting circuit with spare capacity or pull a new 15A lighting circuit from the panel.
- Kill the power. Flip the breaker. Test the junction box with a voltage tester. Then test again. Don’t trust the switch. Test.
- Cut in the switch box. Mark the location beside existing kitchen switches. Cut the drywall. Drop in an old-work box.
- Pull the feed. 14/2 NMD90 from the source to the switch box. Then another run from the switch box up into the wall cavity and into the cabinet soffit area.
- Run cable under the cabinets the right way. Here’s the code point most DIY guides skip. Cable under cabinets is exposed to damage from pots, pans, and small appliances. The Canadian Electrical Code requires mechanical protection in these locations. Use flexible metal conduit for the under-cabinet portion. Miss this and you fail inspection.
- Connect the fixtures. Open each fixture’s wiring cavity. Black to black. White to white. Bare copper or green to ground. Marrettes on, electrical tape over the base of each Marrette.
- Wire the dimmer. Incoming hot to the line terminal. Load wire to the load terminal. Grounds bonded together. Push the dimmer into the box and secure. Need help? Check our step-by-step guide to installing a dimmer switch.
- Close up and test. Reinstall the switch plate. Power back on. Cycle the dimmer through its full range. A quality LED driver with a compatible dimmer should run smooth down to about 10% without flicker or buzz.
- Book the inspection. In Ontario, file the ESA notification before work starts and book the inspection after. Insurance and resale depend on this. Just do it.
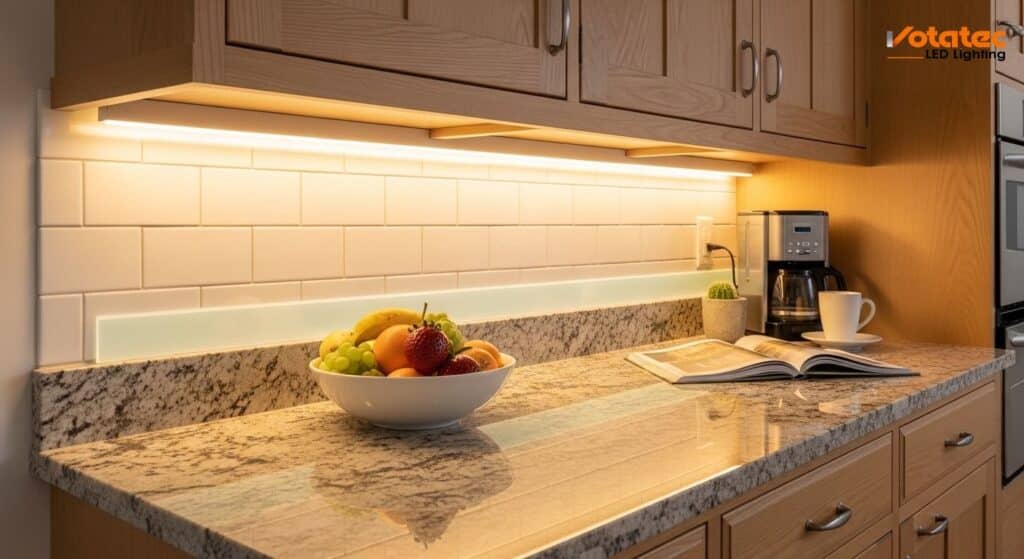
How to Pick Colour Temperature and Lumens for Under Cabinet Lighting
Colour temperature is measured in Kelvin. Lower numbers look warm and yellow. Higher numbers look white and cool.
| Kelvin | Look | Works Best For |
|---|---|---|
| 2700K | Warm, incandescent-like | Traditional wood cabinets, soft finishes |
| 3000K | Warm white | Most kitchens, neutral wood or cream |
| 3500K | Neutral white | Grey or modern white cabinets |
| 4000K | Cool white, office-like | High-contrast modern, task-heavy prep |
| 5000K+ | Daylight | Rare in kitchens, more of a workshop colour |
3000K handles about 80% of Canadian kitchens we ship to. That’s the default you should start with unless the cabinets lean cool-grey or ultra-modern.
For brightness, aim for 180 to 250 lumens per foot of cabinet. A 20 foot run wants around 4,000 lumens total. Too little looks dim. Too much creates glare off glossy quartz.
And CRI matters. Look for CRI 90 or higher. Anything lower makes your tomatoes look grey and your cheese look plastic. (Source: Illuminating Engineering Society.)
Do You Actually Need a Permit?
Depends on the install:
- Plug-in: no permit anywhere in Canada.
- Hardwired: yes, in most provinces. Ontario ESA requires notification for new wiring, new circuits, or extended circuits. BC, Alberta, and Quebec run similar systems.
- Battery: no permit.
Is it worth skipping? No. Unpermitted electrical work voids insurance claims if there’s a fire. Shows up on resale home inspections. The permit costs about $100 to $200 and takes an hour to file. Just get it.
Five Under Cabinet Lighting Mistakes Contractors See Every Week
- Mounting the strip at the back of the cabinet. Lights the backsplash, leaves the counter dark. Front lip. Always.
- Buying the $15 big-box strip. Low-bin LEDs, poor CRI, dies in 18 months. Spend the extra $40 and get a DLC-qualified fixture rated for 50,000 hours.
- Skipping dimmer compatibility. Not every dimmer works with every LED driver. Buy a dimmer labeled ELV or explicitly listed as LED-compatible with your fixture model. Otherwise you get buzz, flicker, or a dim range that goes from “on” to “off” with nothing in between.
- Leaving cable exposed under cabinets. Canadian code requires mechanical protection. Use FMC. Not optional.
- Mixing colour temperatures in one run. Three fixtures at 3000K and two at 4000K looks like a patchy mess. The eye catches it instantly. Pick one temperature. Stick with it.
Frequently Asked Questions
Can I install under cabinet lighting without an electrician?
Plug-in strips, yes. Anyone can do those. Hardwired installs, no. In Ontario and most Canadian provinces, new wiring and circuits must be done by a licensed electrical contractor or a homeowner working under a homeowner permit with ESA oversight. Skip that and your insurance won’t pay if something goes wrong.
How much does under cabinet lighting cost in Canada?
Plug-in LED strips run $50 to $200 in parts plus an afternoon. Hardwired installs by a licensed electrician are $400 to $1,200 depending on cabinet run length, wire path complexity, and whether a new circuit is needed. Fixtures alone for a typical kitchen are $150 to $500.
What colour temperature is best for under cabinet lighting?
3000K for most Canadian kitchens. Goes with wood, cream, beige, and soft white cabinets. For modern grey or bright white cabinets, 3500K works better. Avoid 2700K unless you want a very warm, yellowish glow. Always pick CRI 90 or higher so food looks right.
Can under cabinet lights be on the same circuit as kitchen outlets?
No. Canadian Electrical Code keeps kitchen receptacle circuits separate from lighting circuits. Your under cabinet lights tie into an existing lighting circuit with spare capacity or run on a dedicated lighting circuit. (Source: CSA C22.1.)
How do I hide the wires for under cabinet lighting?
Plug-in: route the cord with clips along the back edge of the cabinet, then drill a half-inch pass-through hole to the outlet area. Hardwired: pull the feed inside the wall and wrap any exposed under-cabinet cable in flexible metal conduit. Paint the conduit to match if it bothers you.
Do LED under cabinet lights get hot?
Much cooler than halogen or fluorescent. LED bars and strips run warm to the touch but won’t scorch wood cabinets or melt adhesive. You can hold your hand on one after it’s been running an hour. (Source: Natural Resources Canada LED efficiency data.)
Bottom Line
Plug-in strips for quick upgrades. Hardwired for new builds and full renos. Both should be LED, DLC-qualified, 3000K for most kitchens, CRI 90+, and 180 to 250 lumens per foot.
Mount on the front lip. Use conduit for any exposed under-cabinet cable run. Get the permit if you’re hardwiring. Test before you close up.
Spec’ing under cabinet LED for a commercial kitchen, multi-unit residential, or institutional build? Contact the Votatec team for Canadian wholesale pricing and DLC-qualified spec sheets.