


Picking the wrong aperture is the #1 reason a trimless recessed downlight install gets torn out and redone. Here’s the short answer before we go deep.
Use 2″ for accent and tight corridor work. Use 3″ for kitchens, bedrooms, and 9 ft ceilings. Use 4″ for commercial, open offices, and anything above 10 ft. That rule covers about 90% of Canadian installs. The other 10% is where beam spread, ceiling depth, and CSA code decide the match.
This guide walks spec writers, electrical contractors, and facility managers through the whole decision. Every number below is sourced. No guesswork.
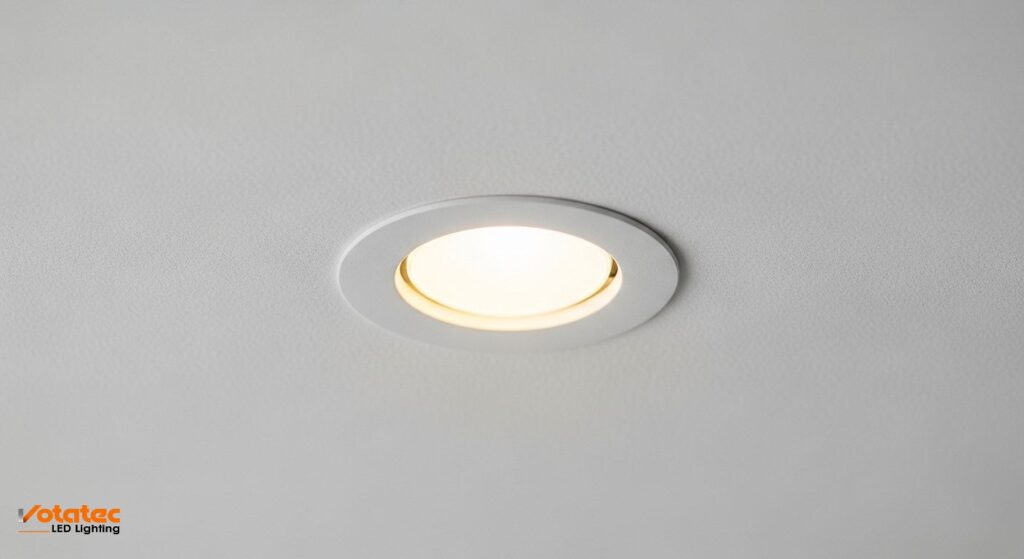
What Is a Trimless Recessed Downlight?
A trimless recessed downlight (also called plaster-in, flush, or mud-in) sits flat inside the drywall with no visible ring. The installer mounts a mud-in flange, tapes and muds it like any butt joint, then sands and paints. The fixture reads as a clean circle of light on a blank ceiling. No chrome ring. No white bezel. No shadow line.
That clean ceiling look isn’t just aesthetic. It’s now the dominant trend in 2026 commercial spec work. Designers are moving away from 6″ cans and choosing tighter 2″ and 3″ apertures because modern LEDs push the same lumens through a smaller hole. (Nuwatt Lighting 2026 recessed trends)
Three things separate a trimless from a standard pot light:
- The flange is buried, not exposed. A perforated steel or die-cast mud-in plate bonds to the drywall.
- The rough-in needs more ceiling void. Mudding depth plus the housing body adds 1-2″ versus a standard trim.
- It’s a one-way install. Once painted, the fixture is locked in. Trim swaps aren’t possible without cutting the ceiling.
That last point is why spec’ing the right size before rough-in matters so much.
Read more: What Is a Recessed Downlight?
Trimless Recessed Downlight Size Cheat Sheet
| Aperture | Typical Lumens | Beam Spread | Ceiling Height Sweet Spot | Best Applications | Min Ceiling Void |
|---|---|---|---|---|---|
| 2″ | 500-900 lm | 24-40° | 7-9 ft | Accent, millwork wash, washroom vanities, hallways, stair treads | 4″ (100 mm) |
| 3″ | 800-1,800 lm | 30-50° | 8-10 ft | Kitchens, living rooms, corridors, bedrooms, retail perimeter | 5-6″ (125-150 mm) |
| 4″ | 1,000-2,500 lm | 40-60° | 10-14 ft | Open offices, commercial general, healthcare, high ceilings, lobbies | 6-8″ (150-200 mm) |
Numbers above reflect what’s typical on spec sheets from Canadian-distributed product families. Always confirm against the actual IES photometric file for the fixture you’re quoting.
2″ Trimless Downlights: The Accent Workhorse
Two-inch apertures are the smallest trimless format that still produces useful general light. The aperture is roughly 50-55 mm, and most 2″ fixtures land between 500 and 900 lumens at 90+ CRI. (Source: USAI Lighting technical specs)
When to spec 2″
- Accent and focal lighting. Washing art, millwork, or a feature wall.
- Low ceilings (7-8 ft). Smaller apertures look less heavy on a low plane.
- Luxury residential or boutique commercial. The minimal aperture reads as high-end detail.
- Tight geometry. Closet, powder room, niche, under a bulkhead.
- Stair and pathway runs. Tight spacing (24-36″) keeps the line continuous.
When to avoid 2″
- Whole-room general lighting above 9 ft. You’ll need so many fixtures that unit cost and rough-in labour kill the budget.
- Commercial general illumination. A 50 fc office target at 2″ requires 2-3x the fixture count of a 4″.
- High-ceiling lobbies or atriums. Light output drops off fast beyond 10 ft.
Quick spec notes
- Beam angle matters more here than in larger apertures. A 24° beam at 8 ft covers only about 3.5 ft diameter on the floor.
- Most 2″ trimless housings are shallow-profile (3.5-4″ deep), which helps when joists are tight.
- Driver location varies. Some integrate in the housing, others mount remote. Remote drivers need service access.
3″ Trimless Downlights: The Versatile Default
Three inch is where most Canadian residential and light-commercial projects land. The aperture (roughly 75-85 mm) produces between 800 and 1,800 lumens on a single LED engine, which matches kitchen, living room, and corridor targets without looking oversized. (USAI Lighting 3-inch specs)
When to spec 3″
- Kitchens. A 50 fc target on counters at 9 ft ceilings wants about 1,000-1,200 lm per fixture.
- Primary bedrooms and living rooms. 20-30 fc ambient with 3″ at 4-5 ft spacing hits the IES mark cleanly.
- Corridors, hotel hallways, healthcare public circulation. 10-15 fc on the floor at 8-10 ft spacing.
- Retail perimeter wash. Paired with a tighter beam (30°) over merchandise.
- 9 ft ceilings, which is Canadian standard for new-build condos and light commercial.
When to avoid 3″
- Very low ceilings under 7.5 ft. Too much light spill, and the aperture starts looking large against a low plane.
- Industrial or 14+ ft commercial. Mid-power LEDs struggle to hit floor targets. Go 4″.
- Exterior soffits exposed to driving rain. Most 3″ trimless aren’t IP65 or wet-location rated.
Quick spec notes
- Deep regression (25-40 mm recess inside the aperture) cuts glare. Matters for computer-based workspaces.
- Watch the CCT. Cool-white 4000K reads clinical at 3″ in residential. 3000K is the Canadian residential default.
- 90+ CRI is now standard on Canadian-stocked 3″ product. Don’t accept 80 CRI unless the budget is tight.
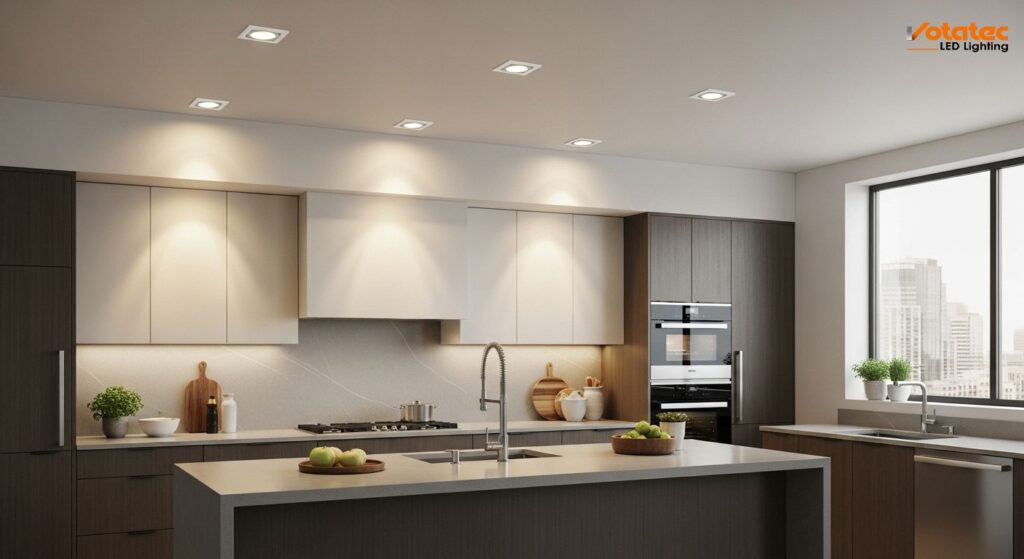
4″ Trimless Downlights: The Commercial Default
Four inch is the volume size for Canadian commercial spec. Aperture lands around 100-115 mm, output 1,000-2,500 lumens, and most fixtures carry the IES files and L70 reports that procurement officers want to see. (USAI Lighting 4-inch specs)
When to spec 4″
- Open offices, boardrooms, private offices. A 40-50 fc desk target is hit cleanly at 6-8 ft spacing.
- Ceiling heights 10-14 ft. Higher-output fixtures push light to the workplane. See our commercial LED lineup for sealed-driver options.
- Lobbies, reception, waiting areas. Combined with adjustable 4″ heads for artwork.
- Healthcare exam rooms and nurse stations. 70-100 fc targets with 90+ CRI.
- Education classrooms with 10 ft ceilings.
- Multi-unit residential corridors and amenity spaces.
When to avoid 4″
- Residential kitchens under 9 ft. Looks too large on the plane.
- Low-budget retrofit jobs. Mudding a 4″ trimless adds labour cost versus a standard 4″ flanged can. For budget projects, a flanged trim is faster.
- Tight joist bays (11″ on-centre). The housing and junction box can conflict. Measure before ordering.
Quick spec notes
- 4″ adjustable (sometimes called “gimbal” or “tilting”) options give up to 35° aim. Useful for gallery or retail accent.
- Most Canadian 4″ trimless is now airtight-rated, which matters for air barrier continuity in Zone 1-4 construction.
- Emergency battery pack versions are common at 4″ but rare at 2-3″. Life-safety corridors usually spec 4″.
Ceiling Depth and Frame-In Requirements
Trimless housings need more plenum depth than a standard can, because the fixture body plus the mud flange depth plus the paint layer all stack up. Plan for these minimums on the rough-in:
| Aperture | Min Plenum Depth | Typical Housing Width | Joist Clearance Needed |
| 2″ | 100 mm (4″) | 90-110 mm | Fits 305 mm (12″) o.c. joists |
| 3″ | 125-150 mm (5-6″) | 140-160 mm | Needs 406 mm (16″) o.c. or better |
| 4″ | 150-200 mm (6-8″) | 165-200 mm | Needs 406 mm (16″) o.c., tight in older homes |
Mud-in trims bond to either 12.5 mm (1/2″) or 15.9 mm (5/8″) drywall. Most Canadian new construction uses 1/2″ for ceilings and 5/8″ Type X where fire-rating matters. Confirm the mud-in flange the manufacturer ships matches the board thickness on your job before the rough-in gets buried. (Ledbe trimless plaster-in specs)
Retrofit and joist conflict
Older Canadian homes often have 2×8 joists at 406 mm o.c. with shallow plenum. If you don’t have depth, you have two choices:
- LED wafer fixtures. These are 15-20 mm thin, clip behind the drywall, and don’t need a housing. They’re not true trimless, but thin-trim versions exist.
- Surface-mount cylinders. If the ceiling plane can’t hide a housing, go on-the-surface instead of trying to force a trimless that won’t fit.
Don’t cut a joist to make a trimless fit. Structural engineers will not sign off, and neither will the ESA inspector in Ontario.
Canadian Code and Certification Checklist
Before any trimless fixture lands on a Canadian job site, the cutsheet needs these marks:
| Mark | What It Means | Required? |
| cUL or cETL | Tested to CSA C22.2 No. 250 and CAN/CSA 22.1-12 | Yes, mandatory in all provinces |
| CSA Certified | Alternative to cUL, same Canadian Electrical Code standard | Yes, mandatory |
| IC Rating | Can contact insulation without fire hazard | Yes, if insulation touches housing |
| Airtight (AT) | Meets ASTM E283 air leakage limits | Yes, for Zone 1-4 envelope continuity |
| Wet Location | IP65 or higher | Only for exterior, showers, wet areas |
| Fire-Rated (FR) | 1 or 2 hour rating when mounted on a fire-rated ceiling | Only on rated assemblies |
The trap: many installers assume IC and fire-rated are the same. They aren’t. IC handles insulation contact. Fire-rated maintains the ceiling’s fire resistance. A multi-unit residential corridor ceiling often needs both marks on the same fixture.
ESA (Ontario), Technical Safety BC, and other provincial inspectors will flag a fixture without cUL or CSA markings and fail the rough-in. Don’t let that happen on a spec job. It costs a week of schedule.
Spacing and Lumen Targets
IES publishes the spacing and foot-candle targets that most Canadian commercial projects design against. Here’s how to translate those for trimless downlights at each aperture.
Spacing formula
Spacing in feet = Ceiling height in feet x 0.5 (residential) or x 0.6 (commercial)
| Ceiling Height | Residential Spacing | Commercial Spacing |
| 8 ft | 4 ft | 4.8 ft |
| 9 ft | 4.5 ft | 5.4 ft |
| 10 ft | 5 ft | 6 ft |
| 12 ft | 6 ft | 7.2 ft |
Never exceed 6 ft between fixtures regardless of height. Beyond that, dark zones show up between pools. Place the first row at half the spacing distance from the wall, so 2-3 ft in most cases.
Foot-candle targets by space type
| Space | IES FC Target | 3″ Downlights Needed (per 100 sq ft) | 4″ Downlights Needed (per 100 sq ft) |
| Hallway / corridor | 10 fc | 1-2 | 1 |
| Bedroom | 15-20 fc | 2-3 | 1-2 |
| Living room | 20-30 fc | 3-4 | 2-3 |
| Kitchen counter | 50 fc | 5-6 | 3-4 |
| Open office | 40-50 fc | 5-6 | 3-4 |
| Healthcare exam | 70-100 fc | 7-8 | 4-5 |
These are ballpark counts at 9 ft ceilings with reasonable surface reflectances. Always run a photometric plan for commercial bids. Lumens on the fixture cutsheet don’t equal lumens on the workplane. Beam angle, coefficient of utilization, and light loss factor all cut the delivered number by 30-50%.
Common Trimless Recessed Downlight Sizing Mistakes
These show up on Canadian jobs every month. Watch for them.
1. Picking aperture for aesthetic, then finding out lumens don’t work.
A 2″ looks modern in a rendering. Then the kitchen comes in at 18 fc on the counter instead of 50. The spec should run both ways: aesthetic and photometric. Both have to pass.
2. Ordering the wrong mud-in flange for the drywall thickness.
5/8″ Type X is common for Canadian multi-unit residential. If the flange is cut for 1/2″, the fixture sits proud and mudding won’t hide it. Confirm on the purchase order.
3. Not verifying CCT across a full order.
A mixed shipment of 3000K and 3500K fixtures in the same ceiling plane looks awful. Pink vs. green cast is visible to the client on day one. Write the CCT and CRI into the PO, and ask for bin-matched product on larger commercial orders.
4. Forgetting the driver access plan.
Remote drivers go in an accessible ceiling space or service panel. If the ceiling is plastered shut, a failed driver means cutting drywall. Plan access before the rough-in gets inspected.
5. Skipping the emergency / life-safety fixture count.
Most Canadian commercial building codes require emergency lighting along egress paths. Not every trimless has a battery pack option, especially at 2-3″. If the fixture count includes life-safety, bring the selection down to models with an EM-BP version available.
6. Spacing beyond 6 ft because the lumen output is high.
Dark zones happen regardless of output. Beam geometry is a math problem. A 2,000 lumen fixture at 10 ft spacing still produces a visible pool-and-gap pattern. Keep spacing inside IES limits.
Frequently Asked Questions
What’s the minimum ceiling depth for a 3″ trimless downlight?
Most 3″ trimless housings need 125-150 mm (5-6″) of plenum depth above the drywall. That includes the housing body, the mud-in flange, and clearance for the junction box. Verify with the specific manufacturer cutsheet, since low-profile 3″ housings exist at 110 mm, but they’re less common.
Do trimless downlights cost more to install than flanged pot lights?
Yes. Expect 30-60% more labour per fixture because of the mudding, sanding, and touch-up paint steps. Material cost is also higher because the fixtures are premium-tier. On a 50-fixture commercial job, that’s a real line item. Quote it accurately.
Are 4″ trimless downlights good for 8 ft residential ceilings?
Usually no. A 4″ aperture reads large on a low ceiling plane and the beam can feel overwhelming. Step down to 3″ for most Canadian residential under 9 ft, or step up to 4″ when you move above 10 ft.
What CSA or cUL marks do trimless downlights need in Canada?
Every fixture needs a cUL, cETL, or CSA certification label to satisfy the Canadian Electrical Code (CAN/CSA 22.1-12). Most provincial inspectors (ESA in Ontario, Technical Safety BC, and others) will fail a rough-in if the fixture doesn’t carry one of these marks. Add IC and Airtight ratings if the housing will contact insulation or sit in the building envelope.
Can I retrofit trimless downlights into an existing drywall ceiling?
Sometimes. If the existing plenum is deep enough and the joists are spaced to clear the housing, yes. If not, consider LED wafer lights (shallow-profile, drywall-clip mount) or surface-mount options. True trimless is best planned during new construction or a full ceiling re-board.
How many 3″ trimless downlights do I need per square foot?
Rough rule: 1 fixture per 20-25 sq ft for general room lighting at 9 ft ceilings (roughly 4-5 ft apart). So a 300 sq ft living room wants 12-15 fixtures. For higher foot-candle targets (kitchens, offices), tighten to 1 per 15-18 sq ft. Always run a photometric plan for any commercial project.
Do trimless downlights work on sloped or vaulted ceilings?
Only with specific sloped-ceiling housings. Standard flat-ceiling housings can’t maintain a flat flange bond on a sloped surface. Some manufacturers offer sloped-ceiling versions with an adjustable mud-in flange, typically at 4″ aperture. 2″ and 3″ sloped options are rare.
Next Steps
Trimless is where Canadian commercial and high-end residential spec is moving. The sizing decision you make at the design stage locks in the rough-in, the labour cost, and the finished look. Get it right the first time:
- Under 9 ft ceilings, residential accent? Start at 2″.
- 9 ft ceilings, kitchens and living rooms? Default to 3″.
- 10+ ft ceilings or any commercial? Default to 4″.
- Mixed spaces? Run a photometric plan and don’t guess.
If you’re speccing trimless for a Canadian project and want a pricing review on a full bill of materials, contact Votatec for a wholesale quote. We stock 2″, 3″, and 4″ trimless recessed downlights with cUL certification, IC-AT ratings, and 90+ CRI LED engines across 2700K-4000K CCT options.