















 (+1) 905 597 5955


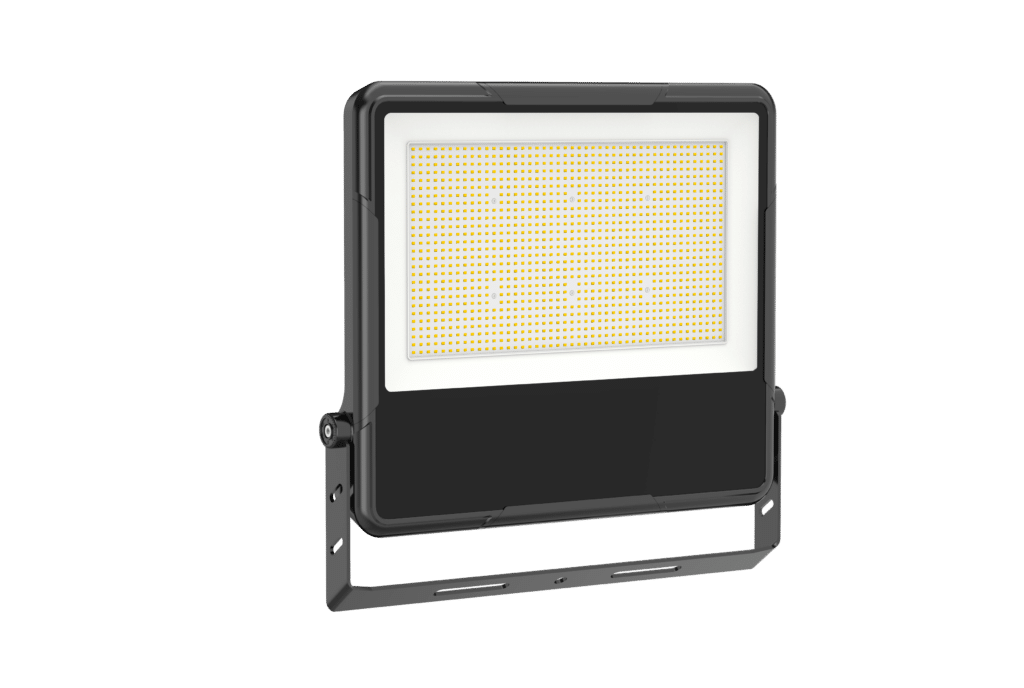
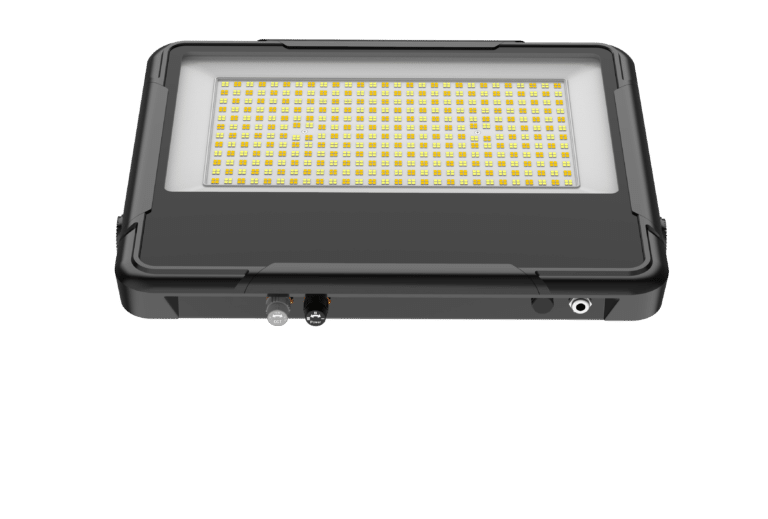
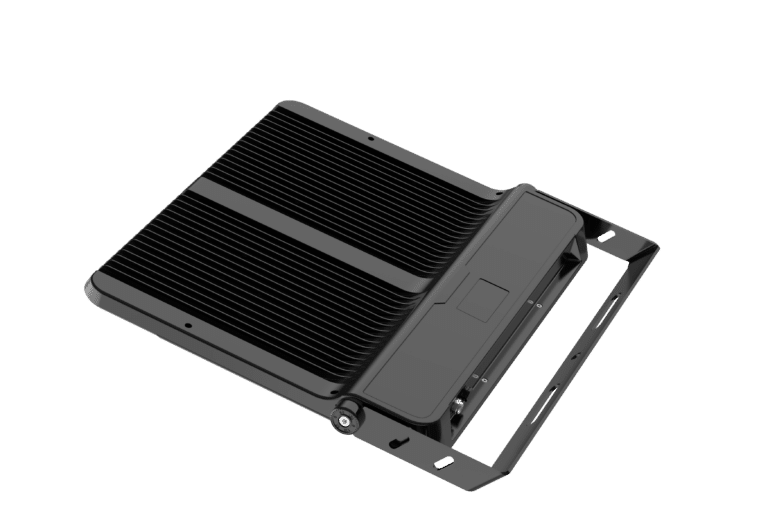
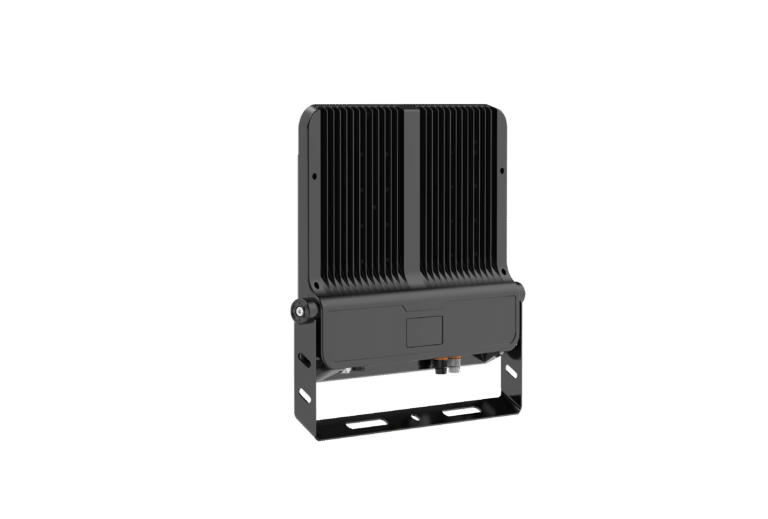


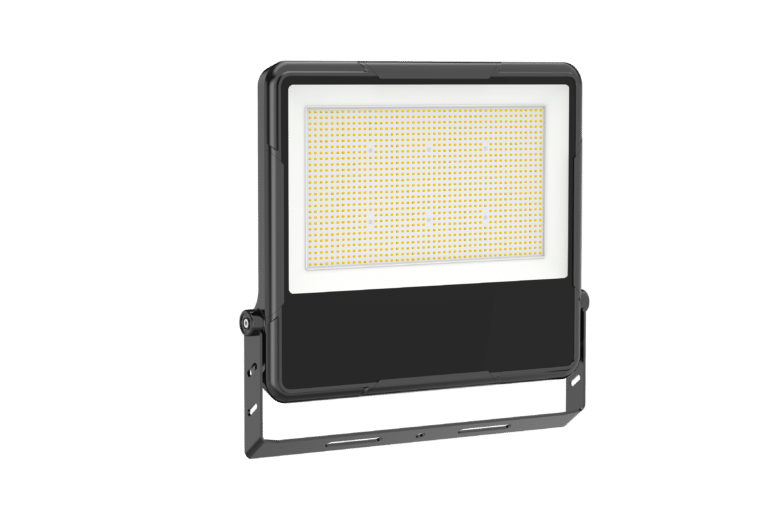
Two switches on the back of this die-cast flood light do the work of nine fixtures. One steps power between 500W, 400W and 300W. The other sets 3000K, 4000K or 5000K.
Output runs 45,000 to 80,000 lumens at 150-160 lm/W, 120 degree beam, CRI above 80, on anything from 120V to 347V.
IP66, IK08, 4mm tempered glass, ETL listed for wet locations. Five year warranty.
How many lumens is a 500W LED flood light?
This one delivers 75,000 lumens at 3000K and 5000K, and 80,000 lumens at 4000K, which is also its most efficient setting at 160 lm/W. Step the switch down and you get 60,000 lumens at 400W, or 45,000 at 300W. Efficacy holds between 150 and 160 lm/W at every step, so cutting wattage cuts draw without wasting light.
What wattage should you set on site?
Set it once at install, using the Power switch behind the housing. Position I gives you the full 500W, II gives 400W, III gives 300W. The CCT switch works the same way: WW for 3000K, NW for 4000K, CW for 5000K. Nothing needs to be ordered differently, so you can carry one part number and match each pole position to whatever the photometric layout calls for. The 0-10V driver trims it further after dark, and the dimming cables come in the box.
Why the 347V range matters here
The driver takes anything from 120V to 347V. Plenty of imported floods stop at 277V, which rules them straight out of the 347V distribution that's common in Canadian industrial plants, arenas and municipal buildings. Same fixture, same part number, whatever the panel gives you. 6kV surge protection is standard, and the fixture is rated from -30 to +50 degrees C.
Mounting, aiming and sealing
The offset bracket bolts to the wall or pole without coming off the fixture, and a numbered scale on the pivot lets you repeat an aim angle across a whole run, through ±180 degrees. Mounting centres are 230mm with 14.5mm holes. One thing installers miss: cable joints need IP68 connectors, not IP66, or the seal fails at the splice rather than the housing. The manual also warns against testing the fixture on a generator.
For the wiring colours, the seven-step mounting sequence and both switch positions, open the Manual (PDF) in the Related documents panel, and grab the IES file if your designer needs photometrics for a layout. Send us your fixture count and mounting height and we'll come back with a wholesale quote and a 347V compatibility check.


